Juuuust in case you didn't know....wait, what am I saying? Of COURSE you know:
MOTHER'S DAY IS ON MAY 12TH!
In preparation for our Mother's Day Bowtique Event at Chino Hills (this Saturday, from 10am-12pm) Melanie and the girls went to pick out paper at Papersource. They're hosting the Mama's Day card-making mini-workshop, and Marilyn and Lily were excited about picking up paper. If any of you have ever been inside Papersource, you'll understand why:
 |
| Holy paper, Batman. |
The Mama's Day Bowtique will be tons of fun, with raffles (mega-raffles, this time!), special Mama's Day extras, "abowable" (harhar) snacks/drinks, and the Mama's Day card-making, so if you've got a special lady that needs some appreciatin', the Bowtique is the place to be.
Of course, we'll be bringing the card-making ingredients to the event at our Chino Hills store, but here's a little how-to if you're not close enough to come:

| |
1. Grab an 8 1/2" x 11" of your favorite card paper (or second favorite, if you're all out of the first) and fold it in half to create the "main" card. If you're staring at a super long, skinny card, you did it wrong.
2. Cut another patterned or colored piece of paper to be 3.75" x 5". We're using a template, since we're making so many for patchwork. I highly recommend making a template whenever you're making multiples of something. I also recommend using a cutting mat and an x-acto knife, but some careful measuring and scissors will do the trick, too.
3. Glue the patterned piece of paper onto what will be the front of the card, being careful to center it so that there's a 1/4 inch of the main card showing on all sides.
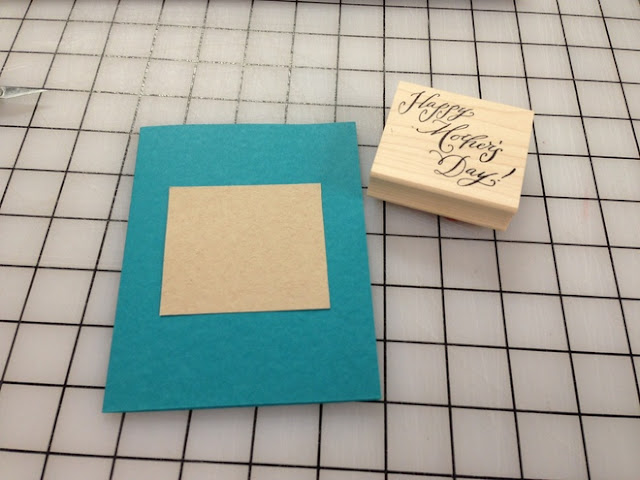
4. Now it's time for the "title" square of the card, which should be 2.75" x 2.75". We're using a paper-cutter to cut kraft brown paper into strips and then cut the squares.
5. OPTIONAL: If you want another border around the title square, you can cut another square out that is 3" x 3". Now center, and then glue the title square on top of this larger square.
6. I picked up a "Happy Mother's Day" stamp to use for the title, but you can do whatever you want---hand-write, type, print, or stamp using individual letter stamps if you want (just make sure your card doesn't start looking like a ransom note.)
7. You can now glue your title square on top of the patterned paper on the front of the card using a glue-stick. If you've centered it correctly there should be a 1/2" on the front, right side, and left side of the title square where the patterned paper is showing.
8. OPTIONAL: if you want to be super fancy, you can stamp something onto the back-bottom of your card.
All done! Just don't forget to write something on the inside for Mom to read:
Hope to see you on Saturday!


